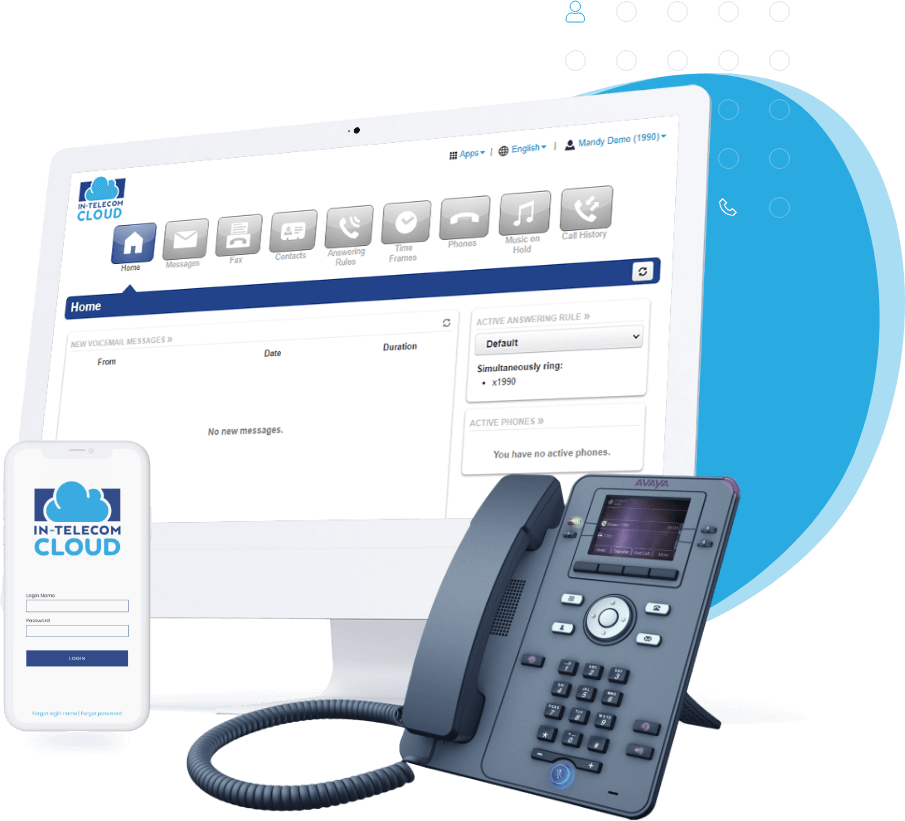
ITC Cloud makes it easy to “Ring in the Holidays”. Unwrap 4 simple ways you can use your ITC Cloud portal to set up holiday-specific auto attendants, call routing, and additional tips for your organization. In-Telecom and ITC Cloud provide the gift of helping you overcome the holiday blues of waiting too late to set up seasonal profiles for your business.
Step #1 – Create Your Organization Holiday Schedule and Set Up A Time Frame
Determine the specific dates and times you would like to adjust your office hours. Navigate to the Time Frame tab and select “Add Time Frame”. Next, give your Time Frame a name that helps differentiate them from other Times Frames such as “Holiday Schedule”. Next, select the option “Specific dates or ranges” and fill in the appropriate dates. You can add multiple dates and ranges here. Once you have completed these steps, click Save.
Step #2 – Create Your Holiday-Specific Auto Attendant
Navigate to the “Auto Attendants” tab and click “Add Attendant”. Give your “Auto Attendant” a unique name, create a new extension number (will alert you if used), select the Time Frame you previously created, and click “Add” (Figure 2-a). Now, the fun part! Gone are the days where you must record your own voice for each option. If you haven’t watched our training video, How to Setup an Auto Attendant yet we suggest you watch before completing this step. Once you have successfully set up your customized “Auto Attendant”, click Save (Figure 2-b).
Figure 2-a
Figure 2-b
Step #3 – Complete Your Seasonal Call Routing Using Inventory Within ITC Cloud
Navigate to the “Inventory” tab. Select the DID or phone number to which applies. This can easily be done by using the “Filters” option (Figure 3-a). Here you will enable the specific holiday time frame for this phone number and select your Treatment. For example, select “Auto Attendant” then type in the name of the Auto Attendant you just created. *Its recommended to complete this step for weather events, holidays, business hours, after hours (Default).
(Organize the time frames in this order from top down) Click “Save” (Figure 3-b).
Going forward, all calls made to the number selected, during the time frame created will play this unique holiday auto attendant for you!
Figure 3-a
Figure 3-b
Step #4 – Tips to Ensure A Happy Holiday
Remind your team to update their status in the portal and create their automatic out of office email reply.
To change your status in the portal, find and click on your contacts side bar located in the bottom right corner of your screen. Once it is expanded, input your status under your name. This is only seen by your internal organization and would need to be done by each individual if they please (Figure 4-a). (For example, those who are on vacation during a different period than your set time frame). Another great tip is to create and set up your automatic out of office email reply. The steps for this can be different depending on your email server or services. If you have Microsoft Outlook, simply click File, select the button for Automatic Replies, and follow the instructions (Figure 4-b).
Figure 4-a
Figure 4-b
STOCKING BONUS – Watch our training webinar, “Holiday How To” for more visual guidance. Need more of a “hands-on” experience setting up the first time? No problem! Give us a call at 8888-470-0614 and we can walk you through this process.


